This is an old revision of the document!
Table of Contents
Personal notes about how to install and play the classic RPG game, Morrowind
Installation
You need:
- GOG setup file, containing the game data,
- innoextract, to unpack the game data,
- OpenMW, a tes3 modern game engine,
- portmod, a tool to install and manage mods.
Install OpenMW
If your distribution allows to install OpenMW with ease using its package manager (e.g., yum, pacman, apt-get, …), that is the most straightforward and suggested way.
However, if the package is broken or you want another version. Then you need to compile yourself. Here are few notes how to do so.
To download the code, we find the version we want:
$ git ls-remote --refs 'https://gitlab.com/OpenMW/openmw.git'
[...]
096b9f8d8a5a98a980a8a5f24bf03a10e239e771        refs/tags/openmw-0.44.0
e29e3248fcf57d6cfac6efd049955c133f2d9896        refs/tags/openmw-0.45.0
0abcb54f51ec4a3979039b2e94ccdc5aa57920ec        refs/tags/openmw-0.46.0
bac679d5f5a252e479a576855c8b00bad9b67d6a        refs/tags/openmw-0.47.0
[...]
The tag name on the right is the version. OpenMW 0.47 is the newest at time of writing. Let's say we want to compile it. From a temp directory we get the code. You can just skip the –branch value if you just want the latest code.
$ git clone --depth 1 --branch openmw-0.47.0 'https://gitlab.com/OpenMW/openmw.git'
The compilation is set up by cmake so:
$ cd openmw
$ mkdir build && cd build
$ cmake -DCMAKE_INSTALL_PREFIX=/ -DCMAKE_BUILD_TYPE=RelWithDebInfo ..
$ nice -19 make -j `nproc --all`
The cmake call may fail for lack of deps, install all it needs. If possible prefer the bullet library multithreaded to the regular one.
The call of make is the compilation itself and may require a bit of time. If you want to keep using the computer while compilation is running you can check the output of nproc –all (the number of processors) beforehand and call make with a smaller number to keep more processing power free for you.
Finally we install in `~/openmw`, you can decide another directory if you prefer.
$ make DESTDIR=~/openmw install
in ~/openmw/bin will be the binaries, so not in PATH. Remember to add to the directory to your path if you want to execute openmw from any directory (i.e., export PATH=“$PATH”:~/openmw/bin )
Unpack the game data
The gog setup file setup_tes_morrowind_goty_2.0.0.7.exe needs to unpacked. In a temp directory we use innoextract to do so:
$ ls
setup_tes_morrowind_goty_2.0.0.7.exe
$ mkdir morrsetup && cd morrsetup
$ innoextract ../setup_tes_morrowind_goty_2.0.0.7.exe
[...] long output omitted [...]
$ ls
app  tmp
The directory app contains all the game data we need. Move where you want to install the game. As example we want install in a games directory under the home
$ mv app ~/games/tes_morrowind
$ cd ..
$ rm -r morrsetup
In the installation directory (i.e., ~/games/tes_morrowind) is the Data Files directory. In the original morrowind.exe engine all mods had to be installed there; in OpenMW each mod is installed in a separate directory; so we create a copy that we will keep pristine for OpenMW and we keep the original Data Files if we need to use programs like the Construction Set that expect all their data to be in that directory.
$ cp -r 'Data Files' 'Data Files OpenMW'
If we need to reset the Data Files directory to its original content, we can just delete it and copy back the OpenMW one.
To make the old-way to install mods easier we convert all filenames to lowercase.
$ convmv --notest --lower -r 'Data Files/'*
We have to ensure to make all filenames lowercase before copying in the old Data Files .
Configure OpenMW
This step is simple, execute openmw-wizard and using the GUI select “Existing Installation” and locate the morrowind.esm file in the Data Files OpenMW directory you created. The wizard will also convert the morrowind.ini contents to the format of OpenMW in ~/.config/openmw/openmw.cfg.
Once done start the game using the launcher (openmw-launcher). The launcher may ask to import the ini file again, refuse in the case because it has already been done. The launcher allows to set up many options with ease. Then start the game and give a look to the in-game options.
Now in ~/.config/openmw are the configuration files:
openmw.cfgwhere you configure mods.settings.cfgwhere you configure the game.
Settings (launcher)
The settings can be altered using the launcher or manually. The launcher is limited, but it is easy to use for the options that are there.
Important ones are:
- Graphics > Lighting
- Put Shaders
- Graphics > Shadows
- Enable everything, but if performance is a problem here is a place to look.
- Advanced > Visuals
- Animations
- Activate everything
- Shaders
- Activate everything, but Use anti-aliasing alpha testing
- Fog:
- Activate everything
- Terrain
- Activate Distant Land and Active grid object paging,
- Put Object paging min size to 0.01
- Set Viewing distance to 3.9 Cells
- Models
- Activate Day night switch nodes
- Advanced > Interface
- Enable everything,
- Scale the GUI to 1.25
- Advanced > Bug Fixes
- Enable everything
- Advanced > Miscellaneous
- Screenshot Format JPG. JPG is fine for normal usage, but change to PNG if you need to share some bug related to graphic.
Once did the initial set up you will probably never use the launcher again.
Settings (text file)
Many useful settings do not appear in game itself or in the launcher. We need to edit the settings.cfg file manually. The whole list is in the documentation. We cover some important ones here too.
The config file has a ini syntax, with sections (like [Water]) and values (like shader = true). As one naively expects: if a settings is there you can edit it, if it is not there but there is its section you have to append to the section, if there is neither the section and the setting you have to add both.
Scaling textures
Textures are often scaled by the game to wrap the objects they appear on; this setting will make the textures appear sharp instead of blurred. However, it is a matter of taste: my “sharp” is your “deformed”, my “blurred” is your “smooth.”
[General]
texture mag filter = nearest
texture min filter = linear
texture mipmap = linear
The higher resolution the textures the subtler is the difference. Here is an example with vanilla textures, the difference is mainly visible around the stone.
 | 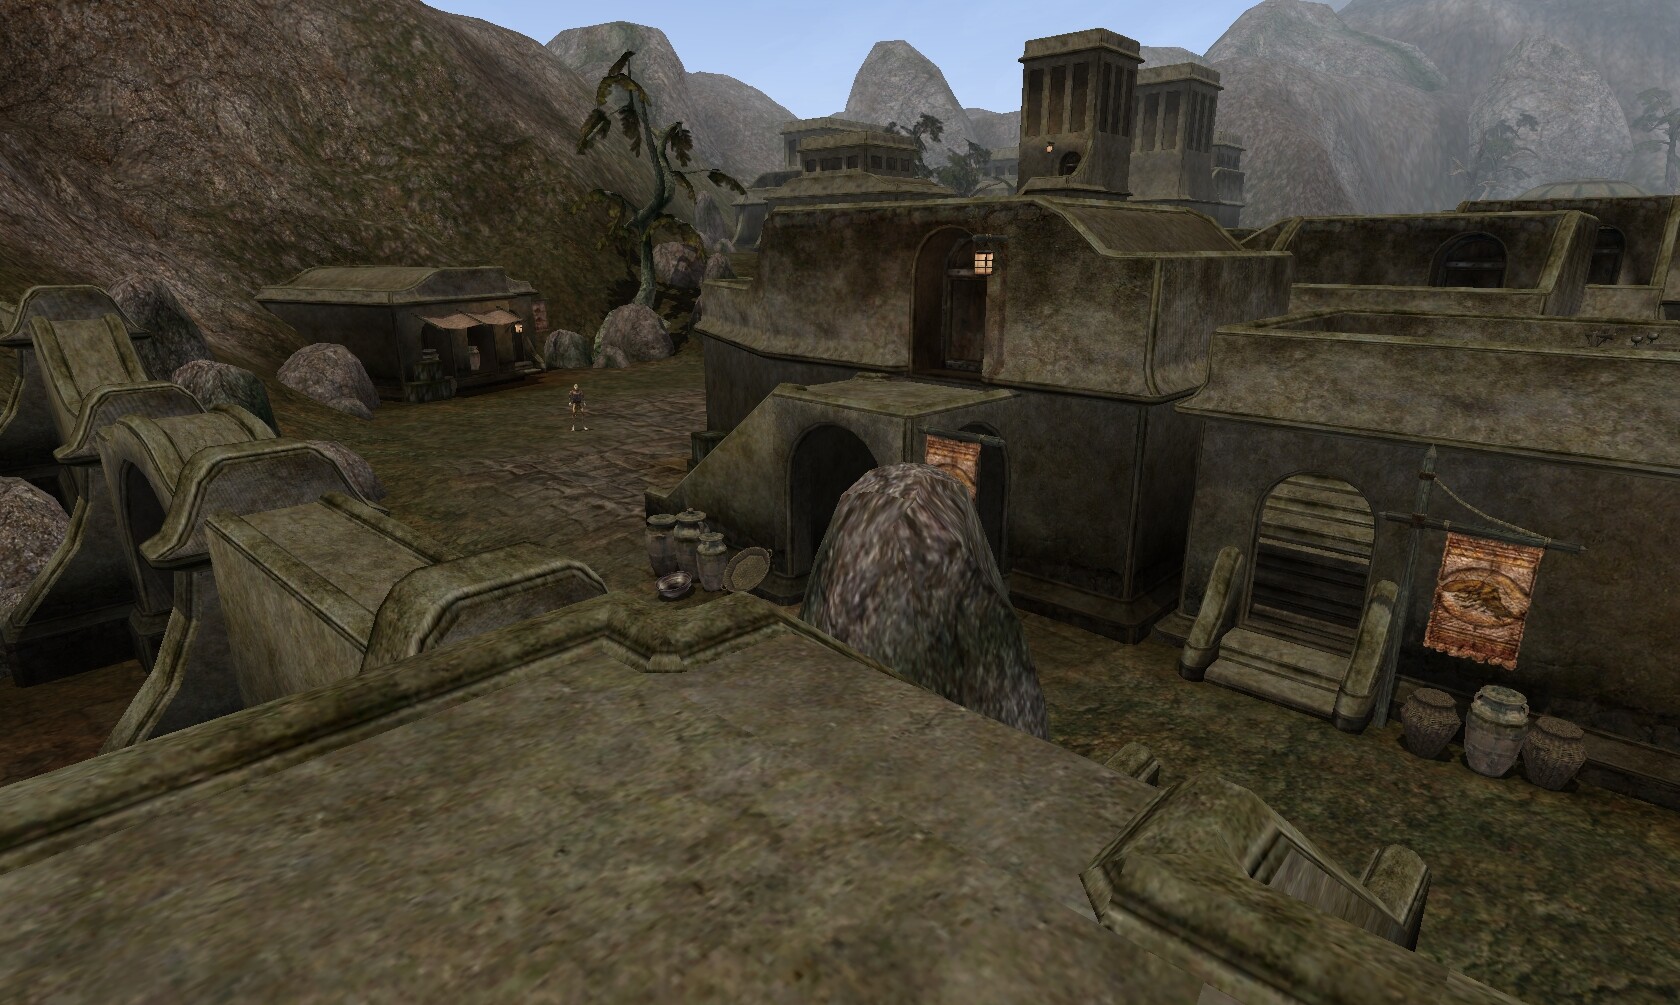 |
| with the setting | without |
Post processing shaders
[Post Processing]
enabled = true
Then in game you can set up the shaders pressing F2. Post processing shaders are another kind of mod and need to be installed similarly.
Groundcover
Several mods add grass to the world of Morrowind. Grass is treated differently than normal models, here are the options to use those mods.
[Groundcover]
enabled = true
min chunk size = 0.5
stomp mode = 2
stomp intensity = 2
rendering distance = 20000
